
Can I make a DIY dog bandana at home? Yes, you absolutely can make a DIY dog bandana easily at home! This guide will show you how. Making a homemade dog neckerchief is a fun, simple project. You can make a quick dog bib project in just an hour. It is a great way to add style to your pet.
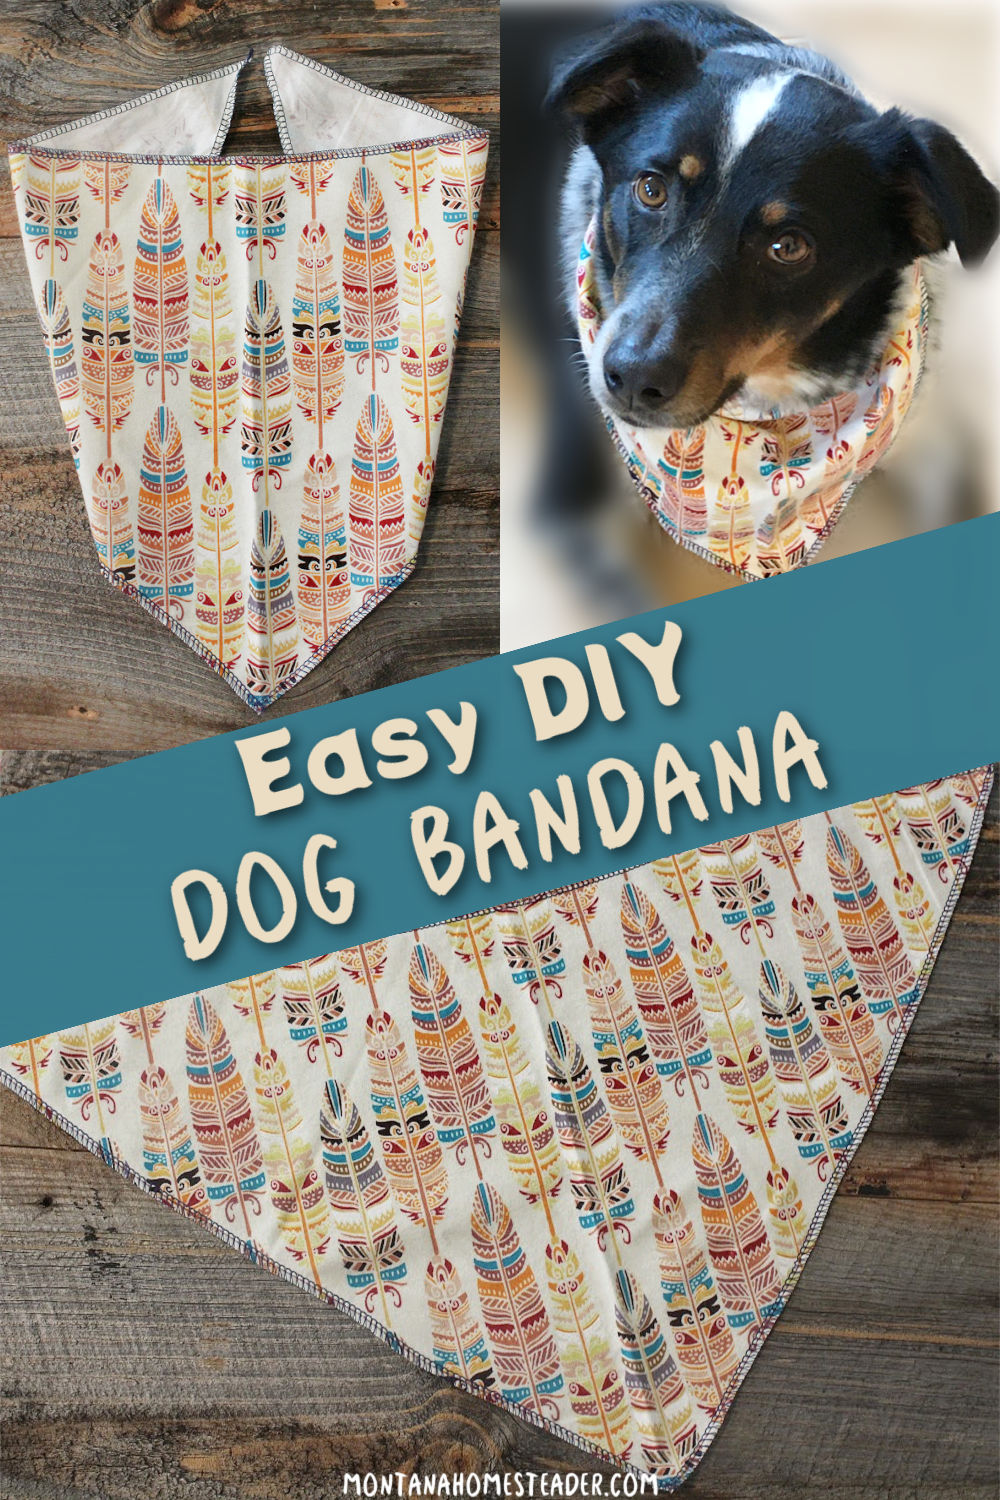
Image Source: montanahomesteader.com
Why Make Your Own Dog Bandana?
Making your own pet gear is rewarding. You control the look and the feel. You can pick the perfect colors. You choose soft fabrics that fit your dog well. Plus, it saves money! This guide covers everything. We will look at simple sewing and no-sew dog bandana tutorial options.
Choosing the Right Materials for Pet Accessory Making
Picking the right stuff is the first big step. Good materials keep your dog comfy and safe. Think about what your dog does most. Is your dog active? Does it have sensitive skin? These things matter when picking fabric.
Fabric Choices for Dog Bandanas
The material you choose affects how the bandana feels and lasts. For everyday wear, pick something light and airy. For rugged play, pick something strong.
| Fabric Type | Best For | Pros | Cons |
|---|---|---|---|
| Cotton (100%) | Daily wear, easy to wash | Breathable, easy to sew, affordable | Can wrinkle easily |
| Flannel | Cooler weather | Soft, warm, cozy | Can be too hot in summer |
| Linen Blend | Stylish looks, hot days | Very breathable, looks nice | Wrinkles a lot, can be rougher |
| Fleece | Winter accessories | Very warm, soft | Not good for hot weather, can hold burrs |
Always wash and dry your fabric before cutting. This stops the bandana from shrinking later.
Thread and Notions
If you are sewing a dog bandana, you need good thread. Use a strong polyester thread. It holds up well to washing and tugging. If you need snaps or Velcro for closures, make sure they are pet-safe and don’t have sharp edges.
Deciphering Dog Bandana Sizing Guide
A well-fitting bandana is key. Too tight, and it bothers your dog. Too loose, and it might get caught on things. You need a good dog bandana sizing guide.
Measuring Your Dog
To find the right size, you need a soft tape measure. Measure around your dog’s neck. This is where the collar usually sits. Do not make it too tight! You should be able to fit two fingers easily between the tape and your dog’s neck.
Here is a simple guide for neck size and recommended finished bandana length:
| Dog Size | Neck Circumference (Inches) | Bandana Width (Tip to Tip, Inches) |
|---|---|---|
| Extra Small (Puppy, Toy Breeds) | 8 – 11 inches | 12 – 15 inches |
| Small (Terrier, Beagle) | 12 – 15 inches | 16 – 18 inches |
| Medium (Spaniel, Medium Mixes) | 16 – 19 inches | 19 – 22 inches |
| Large (Labrador, Golden) | 20 – 23 inches | 23 – 26 inches |
| Extra Large (Great Dane, Mastiff) | 24+ inches | 27+ inches |
The width measurement is the longest side of the triangle. It needs to wrap around the neck with extra room for tying or fastening.
Method 1: Sewing a Dog Bandana (The Classic Style)
Sewing a dog bandana creates a durable, polished look. This is the standard triangular shape that slides onto a collar or ties on.
Preparing Your Custom Dog Bandana Patterns
You can draw your own custom dog bandana patterns, or use a template online. A basic bandana is just a square of fabric folded diagonally into a triangle.
- Start with a Square: Decide on the final finished size. For a medium dog, you might want a 20×20 inch square.
- Cut the Fabric: Cut two identical squares. You need two pieces for a reversible bandana, or one piece for a simple one.
- Mark the Center: Fold the square in half to form a triangle. Mark the middle point along the longest edge. This is where the tip will be.
Step-by-Step Sewing Instructions
Follow these easy dog scarf instructions carefully.
Step 1: Pinning the Pieces
Place your two fabric squares right sides together (the pretty sides facing each other). Line up all the edges perfectly. Pin them all the way around. Make sure the edges are straight.
Step 2: Sewing the Edges
Use a sewing machine for best results. Start sewing along the edge, leaving a 1/4 inch seam allowance. This is the space between your stitches and the edge of the fabric.
- Sew around the entire shape.
- Stop sewing about 3 inches before you get back to where you started. Leave this gap open. This is your turning hole.
Step 3: Trimming and Clipping
Trim the excess fabric near the edges, keeping the seam allowance intact. This makes the corners sharp when turned right side out.
- Clip the two sharp points (the corners of the square) close to the stitching. Be careful not to cut the actual thread!
- Trim the long, straight edge down to about 1/8 inch from the seam. This helps the edges lay flat.
Step 4: Turning and Pressing
Reach into the opening you left. Gently pull the fabric through the hole. You are turning the bandana right side out.
Use a pointy tool (like a chopstick or a seam ripper’s blunt end) to gently push out the corners until they are nice and sharp.
Press the entire bandana flat with a warm iron. Make sure all the edges look neat.
Step 5: Closing the Hole (Top Stitching)
Now you close the gap you left for turning. You can do this by hand using a hidden stitch. Or, you can top stitch around the entire edge of the bandana.
Top stitching gives it a professional finish. Sew a line about 1/8 inch from the edge all the way around. This closes the hole and adds a nice, sturdy border to your homemade dog neckerchief.
Creating a Collar Sleeve
If you prefer the bandana to slide onto the collar, you need a sleeve.
- Instead of sewing a sharp triangle, sew the top long edge almost all the way shut.
- Leave a 1-inch opening in the center of that top edge. This opening is where the collar slides through.
- When you turn it right side out, this opening becomes the sleeve.
This style is great for dogs who dislike things tied around their necks. It is a very easy style for pet accessory making.
Method 2: No-Sew Dog Bandana Tutorial (Quick and Easy)
If you do not own a sewing machine or need a bandana fast, the no-sew dog bandana tutorial is perfect. This uses fabric glue or simple tying methods.
Option A: The Tie-On Bandana
This is the fastest way to make a quick dog bib project.
- Start with a Square: Cut one square of fabric. For a medium dog, use about 22×22 inches.
- Create the Knot: Fold the square into a triangle.
- Wrap and Tie: Place the middle of the long edge on your dog’s neck. Wrap the two ends around the neck and tie them in a secure double knot at the top. Ensure the knot is not too tight. Trim the tails if they are too long.
Option B: Using Fabric Glue for a Permanent No-Sew Look
This method mimics the sewn look without needing a needle.
- Cut Two Pieces: Cut two squares of fabric, the same size as the sewn method.
- Glue the Edges: Place the squares right sides together. Use a strong fabric glue made for washing. Apply glue around the edges, leaving a 3-inch opening.
- Cure Time: Clip the corners as described in the sewing section. Turn the bandana right side out. Push the corners out nicely. Let the glue dry completely according to the package directions. This might take several hours.
- Seal the Opening: Fold the edges of the opening inward and glue them shut neatly. Press firmly.
This results in a great DIY dog bandana that looks professional but skips the needlework.
Advanced Techniques: Over the Collar Bandanas
Many owners prefer bandanas that slide directly onto the existing collar. This prevents the bandana from being easily pulled off or snagged.
Steps for an Over-the-Collar Design
This design requires careful measuring based on your dog’s collar width.
- Measure the Collar: Measure how wide your dog’s collar is (e.g., 1 inch wide).
- Cut the Main Shape: Cut your main bandana shape (e.g., a 20×20 inch square).
- Create the Sleeve Channel: On one of the long edges of your square, you will create a channel (a tube) for the collar to slide through.
- Fold the top edge down about 1 inch toward the wrong side of the fabric. Press well.
- Fold it down another 1 inch. Press again. This creates a 1-inch wide channel.
- Sew the Channel: Stitch along the folded bottom edge of the channel. This secures the sleeve. Do not stitch the sides of the sleeve closed yet.
- Form the Triangle: Fold the entire piece diagonally to form the triangle shape. Pin the sides together.
- Sew the Sides: Sew the two sides of the triangle together, stopping the stitching right where the sleeve channel begins. Make sure the sleeve opening remains open!
- Finish: Trim, turn, and press. Now, your dog’s collar slides right through that top opening. This is a fantastic, secure version of a homemade dog neckerchief.
Making Custom Dog Bandana Patterns Work for You
If you want unique shapes, you need to adapt your custom dog bandana patterns.
Shapes Beyond the Triangle
While the triangle is classic, you can try other shapes:
- Square: Simple, lays flat, great for printing bold designs.
- Scarf Style (Rectangle): This is long and thin. It usually ties on like a skinny scarf. Great for small dogs or long-haired breeds where bulk is an issue.
- Contoured Shape: Some patterns are curved at the top edge to fit the dog’s neck better, rather than having a straight top edge for the sleeve.
Incorporating Closures
For custom dog bandana patterns, deciding on how it attaches is key.
- Tie-On: Requires extra fabric length on the ends to tie securely.
- Snap/Button/Velcro: If you use snaps or buttons, you must reinforce those points when sewing. Cut the main shape slightly smaller since these closures add structure. If you are sewing a dog bandana with hardware, place the hardware on the flat, top edge before sewing the pieces together.
Maintaining Your Dog’s New Accessory
Once you finish your pet accessory making, you need to keep it looking good.
Washing Instructions
Washing depends on the fabric.
- Cotton/Linen: Machine wash cold with mild detergent. Tumble dry low or hang dry.
- Fleece/Flannel: Machine wash cold. Air drying is best to prevent pilling.
If you used fabric glue, check the glue instructions. Some glues handle machine washing well; others require hand washing only. Always remove any plastic or metal tags before washing.
Quick Fixes and Repairs
If a seam starts to come undone on your DIY dog bandana, fix it right away. A simple backstitch by hand can secure the area until you can properly re-sew it. If the fabric rips, you can turn it into a smaller bandana or a cuff instead of tossing it.
Fathoming Fabric Needs Based on Size
How much fabric do you really need for your easy dog scarf instructions? It depends on the size and if you are doing a reversible one.
| Project Type | Fabric Needed (Approximate) |
|---|---|
| Small, Single Layer Bandana | 1/4 yard |
| Medium, Reversible Bandana | 1/2 yard |
| Large, Over-the-Collar Style | 3/4 yard |
Always buy a little extra fabric. It is better to have too much than not enough when trying out custom dog bandana patterns.
Simple Embellishments for Your Homemade Neckerchief
Want to make your homemade dog neckerchief stand out? Add some flair!
Appliqué and Iron-On Vinyl
Iron-on vinyl is fantastic for adding words or shapes without sewing. You can use a cutting machine or even stencil simple shapes onto the vinyl. Iron these onto the finished bandana. This is a great way to personalize your DIY dog bandana.
Piping or Edge Trim
If you are sewing a dog bandana, you can insert piping (a decorative cord) along the edges before sewing the layers together. This takes extra effort but adds a sophisticated, professional touch to your pet accessory making.
Tie Dye or Painting
Use fabric paints or dyes on plain cotton fabric before cutting. Tie-dye creates vibrant, random patterns perfect for a summer quick dog bib project. Always ensure paints are non-toxic and safe for pets before use.
A Closer Look at the No-Sew Tutorial Variations
The no-sew dog bandana tutorial offers amazing flexibility for beginners. Let’s explore another simple variation.
The Fold-Over Bandana (Using Snaps)
This design looks sewn but uses snaps to hold the fold.
- Cut the Fabric: Cut two squares, slightly larger than your final desired size (e.g., 22×22 inches for a medium dog).
- Hem the Edges (Optional): To prevent fraying on a no-sew, you can use fray-check liquid on the edges, or roll the edges very tightly and use glue to secure the roll.
- Attach Snaps: Decide where you want the snaps to go on the top edge. Usually, you need three snaps evenly spaced along the top straight edge. Attach the “female” ends of the snaps to one piece of fabric. Attach the “male” ends to the second piece of fabric, making sure they line up perfectly when the bandana is folded.
- Assemble: Place the two pieces together, right sides facing out. Attach the hardware. When you fold it over your dog’s neck, you will snap the two halves together.
This makes for a reusable, easy-to-clean easy dog scarf instructions adaptation that doesn’t require a machine.
Final Tips for Successful Pet Accessory Making
Whether you are sewing a dog bandana or using glue, keep these points in mind for the best results.
- Test the Fit on a Dummy First: Before putting the new bandana on your dog, try it on a stuffed animal or towel bundle first. Check that the fit is right and the closures work smoothly.
- Safety First: Avoid any beads, sequins, or small decorations that could be chewed off and swallowed. Keep it simple and durable.
- Practice Makes Perfect: Your first DIY dog bandana might not be perfect. That is okay! Each one gets easier. The tenth one will look like it came from a boutique store.
Making gear for your pet is a wonderful way to show you care. Enjoy the process of creating your own custom accessories!
Frequently Asked Questions (FAQ)
Q: What is the easiest way to make a dog bandana?
A: The easiest method is the no-sew dog bandana tutorial that involves cutting a square, folding it into a triangle, and simply tying the ends around the dog’s neck. It requires zero sewing skills.
Q: Can I use regular thread when sewing a dog bandana?
A: While you can use regular thread, it is better to use a strong polyester thread. Polyester thread is much more resistant to stretching, UV light, and frequent washing, which means your sewing a dog bandana project will last longer.
Q: How far down the neck should the bandana hang?
A: For safety and comfort, the tip of the bandana should ideally not hang lower than your dog’s chest or breastbone. For most designs, especially the triangle style, this is naturally achieved. If you make a very long easy dog scarf instructions style, be careful it does not trail on the ground.
Q: Are there special considerations for puppies when choosing fabric?
A: Yes. Puppies chew everything. Avoid using any hardware (snaps, buttons) on a puppy bandana, as they might pull them off and ingest them. Stick to tightly sewn seams or the simple tie-on style using soft, washable cotton fabric for your quick dog bib project.
Q: How do I make sure my custom dog bandana patterns are safe if the dog chews?
A: If your dog chews, stick to 100% cotton fabric that is pre-washed. Avoid any synthetic fabrics that might melt or release chemicals if chewed heavily. If you are using iron-on decals, ensure they are firmly adhered and non-toxic. Durable stitching is your best defense against a dog taking it apart.